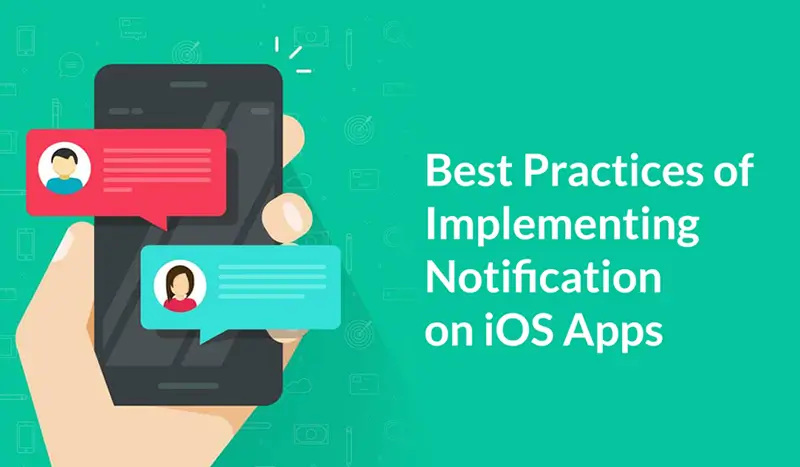
Introduction:
Push notifications are not scheduled by App, they are triggered by another service (called provider), most often a web server, and they’re usually targeting to multiple devices simultaneously.
Every single push notification that is sent from a provider to one or more target devices, follows a mandatory path, i.e through the Apple Push Notification Servers, or simply APN servers.
The lifecycle of a remote notification can be summed up as shown next:
Provider >> APN servers >> Target Devices
Several steps are required so an app can accept push notifications. Those steps are divided into two general categories:
1. The programming preparation
2. The production of various certificates, provisioning profiles and more
The programming part is easy, as it consists of standard pieces of code that must be added to the project. The confusing is the second part, where a number of other actions are necessary to be taken in various places, such as the Mac OS Keychain Access app, the project, and the Apple Developer Member Center portal.
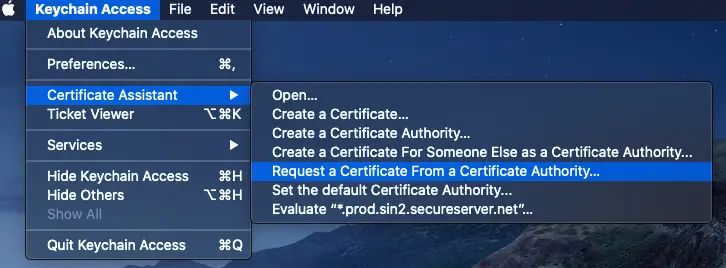
Step-1: The Certificate Signing Request
We are going to produce a Certificate Signing Request (CSR) file that we’ll use later on to create an SSL certificate for push notifications.
Once you get there, open the Keychain Access > Certificate Assistant > Request a Certificate From a Certificate Authority… menu, as shown next:
In the window that comes up, you need to mandatorily fill in the User Email Address and Common Name fields, then click to the Saved to disk option so you are able to save the CSR file to disk, and use it later in the Apple Developer website.

Click Continue and optionally choose a folder and a name for the CSR file right before you save it. Once you see a message saying that your certificate request has been created on disk, click Done.
Step-2: Create an App ID
Create a new App ID on the Apple Developer website. This App ID is going to uniquely identify our app amongst others, and it will help APN servers to properly route the notifications.
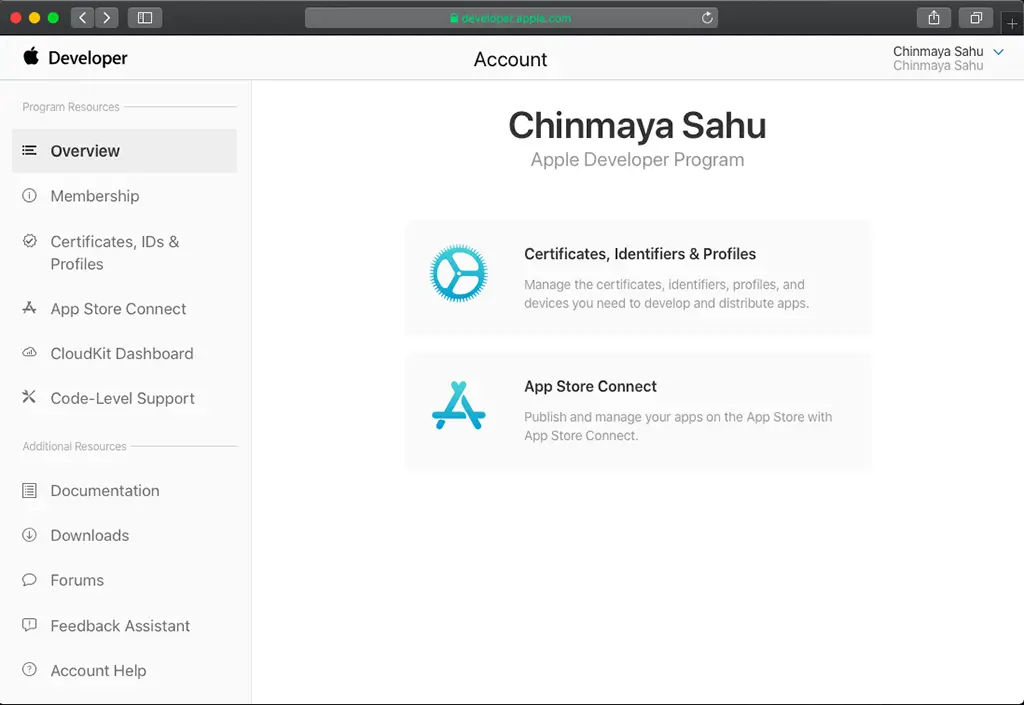
First things, going to the Apple Developer Member Center (developer.apple.com). Provide your credentials, and get connected. Then, click on the Certificates, Identifiers & Profiles link, so you can navigate to the proper page.
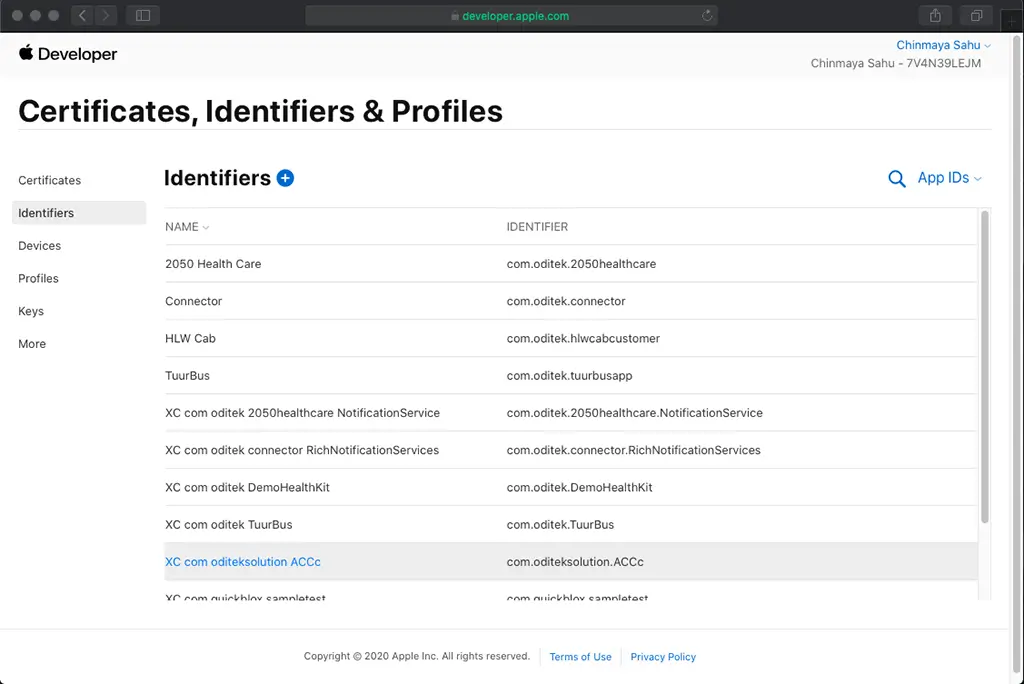
By landing on the new webpage, click to the Identifiers, then click the plus (+) button.
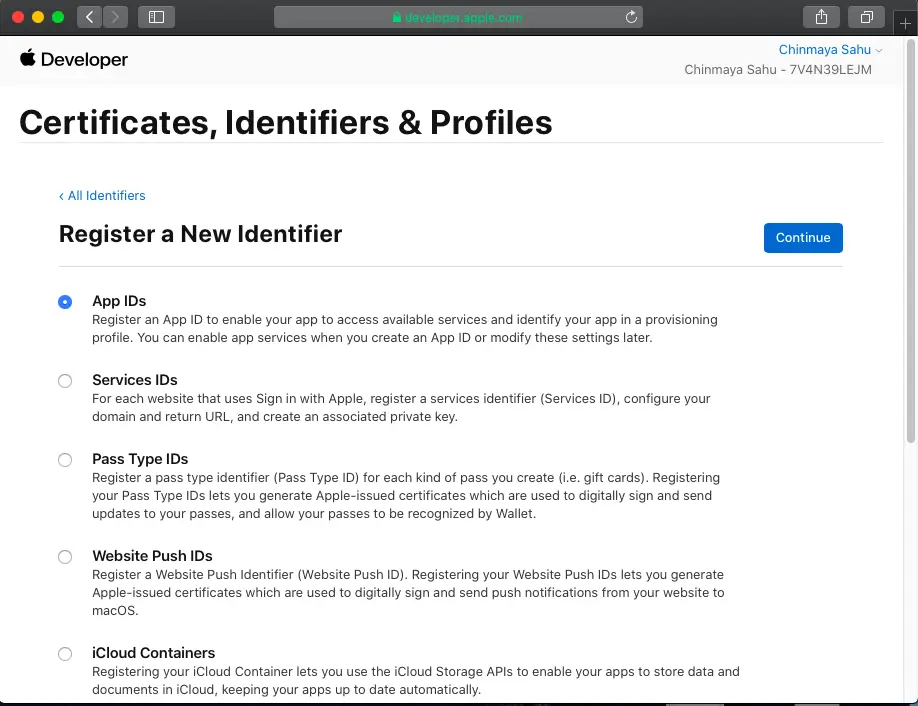
Then select AppIDs, then click continue.
It’s time now to configure a new App ID for our demo application. For starters, we need to fill in two fields:
1.A description of the new App ID. In this sample it’s not really important what you will type here, but you’d better pick a good and precise description in real-world cases.
2.The Bundle ID of the app. Just copy that value from your Xcode project, and paste it here.
As you can see, there’s also one more value between the above two. It’s the App ID Prefix, and usually you don’t really need to change the default value. However, don’t hesitate to do so if it’s necessary to pick a different prefix value. For the purpose of this tutorial, I just leave the default value.
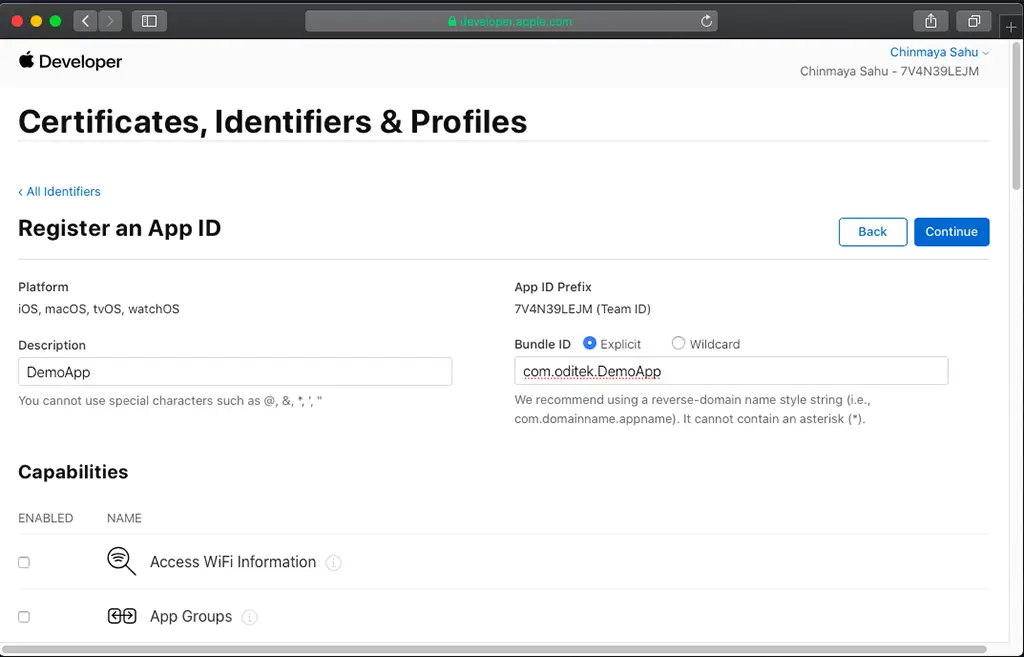
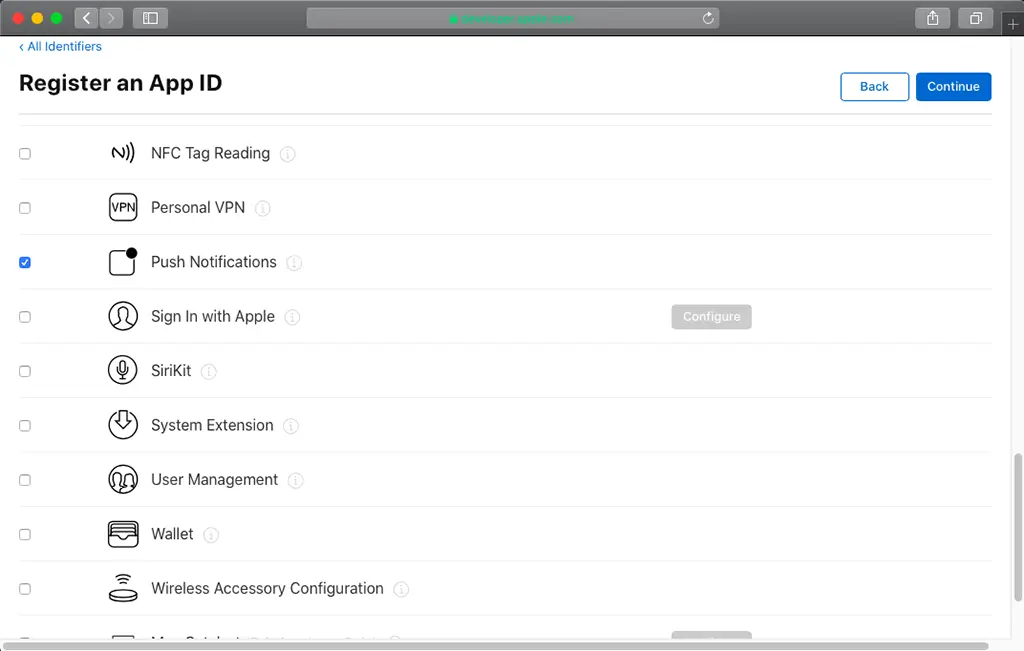
Enter Description & Bundle ID, then select/tick PushNotification, then click the continue button.
After that confirm your AppleID, then click to Register.
Step-3: Configure the App ID for Push Notifications
You might have noticed in the previous part that the status for both Development and Distribution mode is not marked as Enabled but as Configurable, even though we checked (enabled) the Push Notifications service during the App ID creation.
After Register part is done, then click your project, then PushNotification, then click Configure.

Note that for the sake of the tutorial we’ll configure the push notifications for the Development mode only. As we are not going to test any push notifications in the production stage, we won’t touch the Distribution mode at all. However, whatever you’ll see next applies to that case as well. In a real app you should definitely configure the Distribution mode, otherwise push notifications are not going to work when your app will go live to the App Store.
Let’s get going now by clicking to the newly created App ID in the list so it gets expanded. Right after all the displayed services there’s a button titled Edit. Click it to proceed.
In the next step scroll down until you see the Push Notifications section. You’ll find two buttons there which you can use to create SSL certificates for both the Development and Production stage. As we’re interested in the Development mode only, click to the first button as shown below:

Now click Create Certificate, then choose File(CSR File), then click Continue, then Download the certificate.
The file you just downloaded is named aps_development.cer. Spot it in your Downloads folder and double click on it, so it’s added to the collection of certificates in the Keychain Access app.
.cer File >> double click >>Add To KeyChain >> right click >>Export”Apple Development iOS…..” >>Save as – (Apns_deve…) >>Save
Step-4: Configure the Project
So, bring the app in Xcode in front of you and select the project in the Project Navigator. Make sure that you are in the General tab. What you have to do is to go to the Team dropdown control, and select the proper team that will be used for provisioning.
1st check Bundle ID, then Automatically Manage >> select >> Enable Manage
Then check Team-None >> Add Account >> Enter your Mail Id & Password >> Download Manual Profile >> Then select your Team
Then click Capabilities >> Push Notification >> click to ON
Step-5: Register for Push Notifications
Open the AppDelegate.swift file, then import “import UserNotifications”, and go to the application(_:didFinishLaunchingWithOptions:) method. Add the two lines shown right above the return true command:
Ex -: func application(_ application: UIApplication, didFinishLaunchingWithOptions launchOptions: [UIApplication.LaunchOptionsKey: Any]?) -> Bool {
// Override point for customization after application launch.
let notificationTypes: UIUserNotificationType = [UIUserNotificationType.Alert, UIUserNotificationType.Badge, UIUserNotificationType.Sound]
let pushNotificationSettings = UIUserNotificationSettings(forTypes: notificationTypes, categories: nil)
<
return true
}
Initially, we specify the notification types we desire for our app, and then we create a UIUserNotificationSettings object that will be used to register for push notifications. If for any reason you don’t want to make use of all types shown in the above array, just remove the undesired ones.
Now let’s make those types known to the system, and let’s register for receiving push notifications:
Ex -: func application(_ application: UIApplication, didFinishLaunchingWithOptions launchOptions: [UIApplication.LaunchOptionsKey: Any]?) -> Bool {
application.registerUserNotificationSetting(PushNotificationSettings)
application.registerForRemoteNotification()
return true
}
Step-6: The Delegate Methods
Registering for push notification is important, but it consists of the half programming work we have to do only. The other half regards the implementation of some useful delegate methods that make your app properly respond to received notifications. So let’s see them one by one.
The first delegate method we are going to implement is the application(_: didRegisterForRemoteNotificationsWithDeviceToken:). It is called when the app successfully manages to register itself for push notifications. In normal conditions, the second parameter is vital, as it contains a unique key for each device, called the device token. In real-world applications, you should send the device token to the server that originally sends the push notifications. The server then (provider) uses it by sending it to Apple Push Notification servers along with any other necessary information, and that’s how APN servers know who the recipients of the notifications are.
//Called when APNs has assigned the device a unique token
func application(_application: UIApplication, didRegisterForRemoteNotificationsWithDeviceToken deviceToken: Data){
print(“APNs Device Token = \(deviceToken)”)
}
Registering successfully for push notifications is not something that we can be sure of. There may be reasons that make that effort fail. Therefore, it’s important to implement the following method as well, so we handle situations like that:
//Called when APNs failed to register the device for push notifications
func application(_application: UIApplication, didFailToRegisterForRemoteNotificationsWithError error: Error){
//print the error to console(you should alert the user that registration Failed)
print(“APNs Registration failed: \(error)”)
}
The proper error handling is of course something that you have to do based on your app’s logic or requirements.
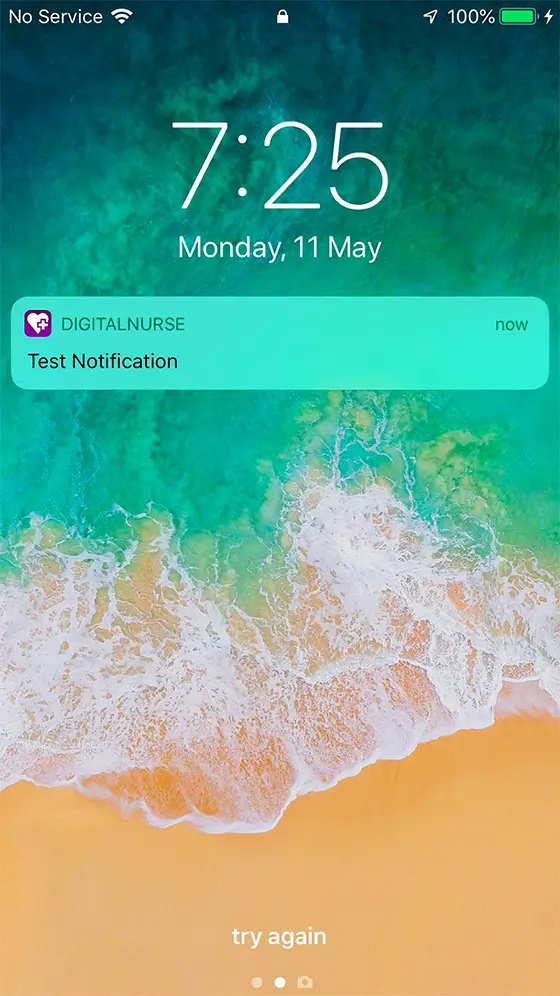
As you know, push notifications will appear on the device when the app is not in the foreground, however, it often happens notifications to be received while the app is running, and in that case you as a developer have to take the proper actions to properly deal with them. In our demo, we will just show in the console the incoming information. In real apps however, this should definitely not be the approach you follow.
Here’s the respective delegate method:
//Push notification received
func application(_application: UIApplication, didReceiveRemoteNotification data:[AnyHashable: Any]){
//print the error to console(you should alert the user that registration Failed)
print(“Push Notification Received: \(data)”)
}
//For displaying notification when app is in foreground
func userNotificationCenter(_center: UNUserNotificationCenter, willPresent notification: UNNotification, withCompletionHandler completionHandler: @escaping(UNNotificationPresentationOption) -> Void{
//print the error to console(you should alert the user that registration Failed)
print(“Notification will Present method called”)
completionHandler([.alert, .badge, .sound])
}
//For handling tap and user actions
func userNotificationCenter(_center: UNUserNotificationCenter, didReceive response:
UNNotificationResponse, withCompletionHandler completionHandler: @escaping() ->
Void{
print(“Action First Tapped”)
Switch response.actionIdentifire{
case “action1”:
print(“Action First Tapped”)
case “action2”:
print(“Action Second Tapped”)
default:
break
}
completionHandler()
}
NOTE:
1. When App is disabled or not open or App will open 1st time, that time func application(_ application: UIApplication, didFinishLaunchingWithOptions launchOptions: [UIApplication.LaunchOptionsKey: Any]?) -> Bool {} >>> this method will be called.
2. When App is in Foreground(Open) mode, that time func userNotificationCenter(_center: UNUserNotificationCenter, willPresent notification: UNNotification, withCompletionHandler completionHandler: @escaping(UNNotificationPresentationOption) -> Void{} >>> this method will called.
3. When App is in Background mode or is Open/Closed, that time func userNotificationCenter(_center: UNUserNotificationCenter, didReceive response: UNNotificationResponse, withCompletionHandler completionHandler: @escaping() -> Void >>> this metod will called. It’s a default method.
At OdiTek Solutions, we’ve some of the best iOS app developers in India. If you have a need to design, develop and deploy an iOS App or require additional information, drop us an email us at info@oditeksolutions.com.