

1.What is Selenium?
- Selenium is one of the most popular open-source automated testing Tools available today.
- Selenium automates web applications for testing purposes but is certainly not limited to just that
- Selenium is not a single tool, instead, it is a set of different tools each with a different approach to support test automation.
- The following are the four tools that comprise the Selenium’s Tools Suite:
. Selenium IDE
. Selenium 1 (or Selenium RC)
. Selenium 2 (or Selenium WebDriver)
. Selenium-Grid
1.1 Selenium IDE
- Selenium IDE is a Firefox extension which is used to record the tests like recording a video and playback the recorded tests like playing a video.
- Using Selenium IDE we can create Selenium Automation Code without writing the code instead the code gets generated automatically when we record the tests using Selenium IDE
- Selenium IDE can only be used to automate simple projects.
Advantages:
- Easy for beginners i.e. Requires less or no software development
- Takes very less time to automate
- An excellent way of learning Selenium Script Syntax in your desired programming language.
Disadvantages:
- Not suitable for complex applications – Reason – If something says Application URL gets changed, we need to record all the tests from the beginning.
- Repetition of the code – Reason – Let’s say there are two tests. Test1 -> Login to Gmail, View Unread Emails, and Logout. Test2 -> Login to Gmail, Send Email and Logout. When we use Selenium IDE to record these tests it will generate automation code for separate Login and Logout actions. So the code is repeated.
- A code is not readable as it contains Hardcoded values – Reason – Selenium IDE records whatever the actions the User performs while recording a test, hence the code contains Hardcoded values.
- Cannot create constants – There are few constants like Application URL, Usernames etc. Since the recorded code contains Hard Coded values, whenever some functionality gets changed say Application URL, we need to read all the recorded tests and make changes to all the tests containing Hard coded Application URL.
- Data Driven tests are not possible – Suppose if you want to run the same Test say -> Login to Gmail with say 100 different Users. Using Selenium IDE you have to record 100 tests (each test for each User).
1.2 Selenium RC
- Selenium RC used to be the leader in the market for a long period of time until Selenium WebDriver is introduced into the market
- Selenium RC stands for Selenium Remote Control and is nothing but an API
- Selenium RC is an outdated now, almost all projects now moved to a new API known as WebDriver.
1.3 Selenium WebDriver
- Pre-Requisites
. Selenium IDE
. Java
. Eclipse IDE
- Selenium WebDriver allows you to write Automation tests in any supported programming language (say Java).
- Selenium WebDriver is also known as Selenium 2.
- Selenium WebDriver is an open source and free tool.
- Selenium WebDriver is the main Selenium Project currently (i.e. Selenium RC or Selenium 1 was the main project earlier). But Selenium 2 still runs Selenium 1’s Selenium RC interface for backwards compatibility.
- Selenium 2 can run Selenium RC command and the concept is known as Backed Selenium.
- Selenium WebDriver has support for almost all browsers
- Selenium WebDriver has support for several programming languages like Java, C#, Ruby, Python, Pearl, Javascript and PHP)
1.4 Selenium Grid
- Selenium Grid is neither a tool having GUI, nor an API like Selenium RC / WebDriver. Instead Selenium Grid is just a concept, which will allow us to distribute the multiple tests across multiple machines, multiple Operating Systems and multiple browsers for execution.
- Selenium Grid speed up the execution process when there are huge number of tests. i.e. Huge list of tests will be distributed across multiple machines and executed at the same time for reducing the execution time. For example, if one test is executing on machine 1, at the same time another test will get executed on machine 2.
- Selenium Grid has the two versions i.e. Selenium Grid 1 and Selenium Grid 2.
Selenium Grid 1 can be used with the outdated Selenium RC and hence Selenium Grid 1 can be ignored. Selenium Grid 2 can be used with the latest Selenium WebDriver and hence it is the latest Selenium Grid version used in the market.
2. Configuration with Eclipse to work Selenium Web Driver with Java
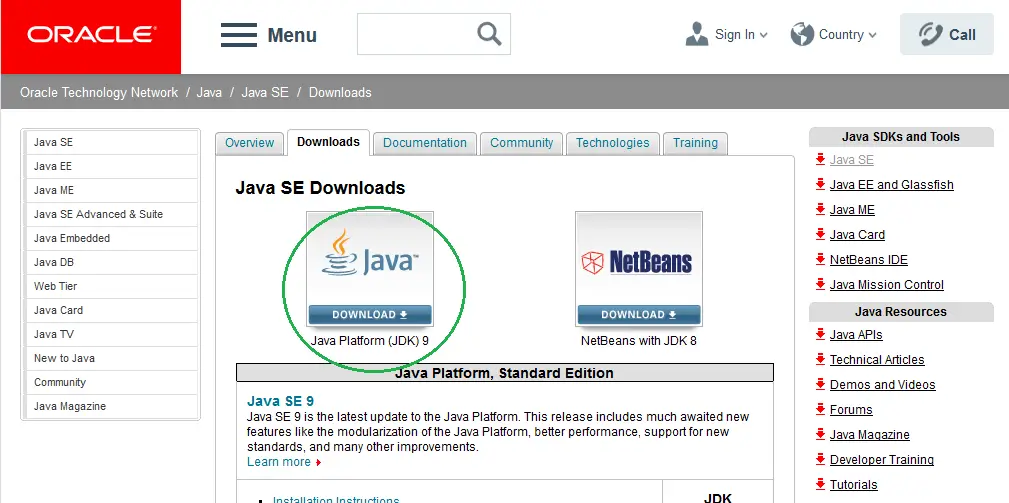
Step1: Install Java on your computer
Download and install the Software from this link: http://www.oracle.com/technetwork/java/javase/downloads/index.html
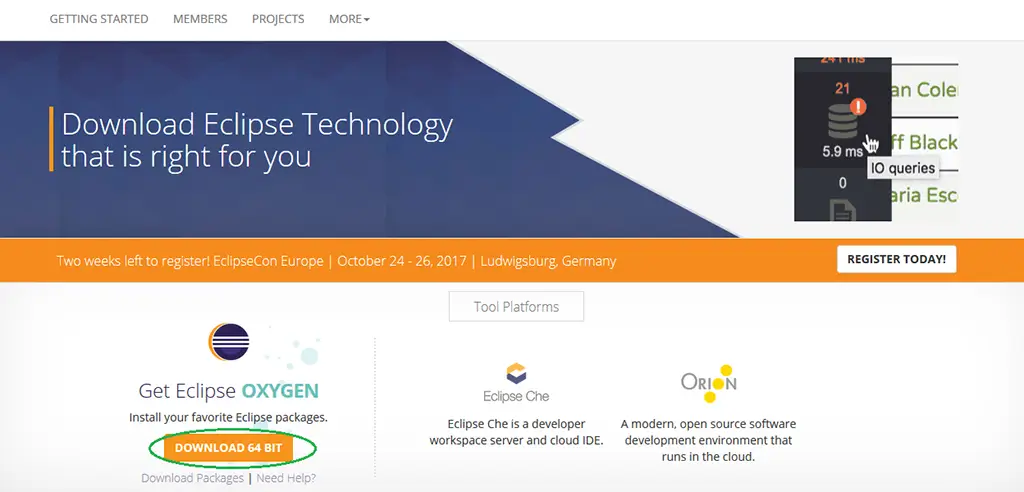
Step2: Install Eclipse
http://www.eclipse.org/downloads/
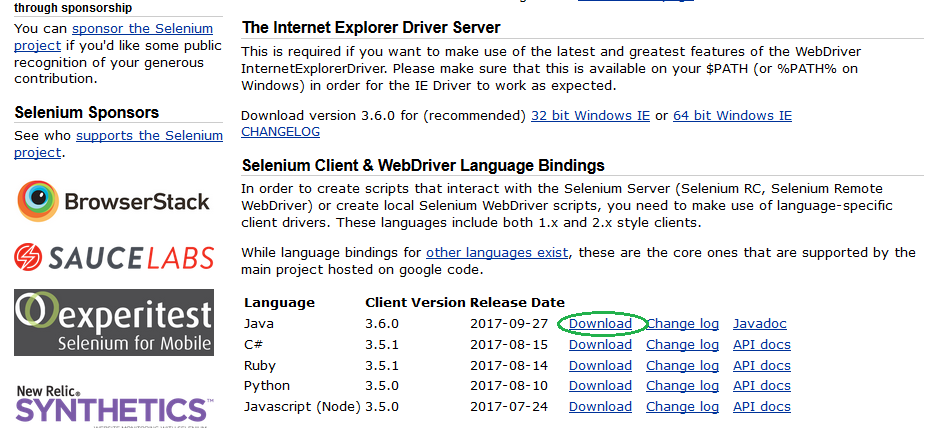
Step3: Download Selenium Java Client Driver
http://www.seleniumhq.org/download/
Step4: Configure Eclipse with Selenium WebDriver
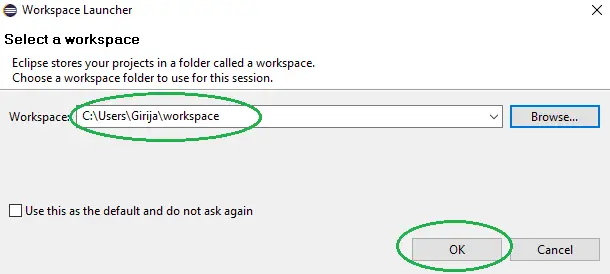
1. open eclipse.
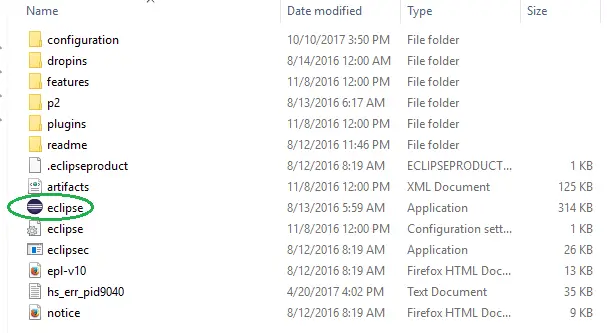
2. Accept the default location.
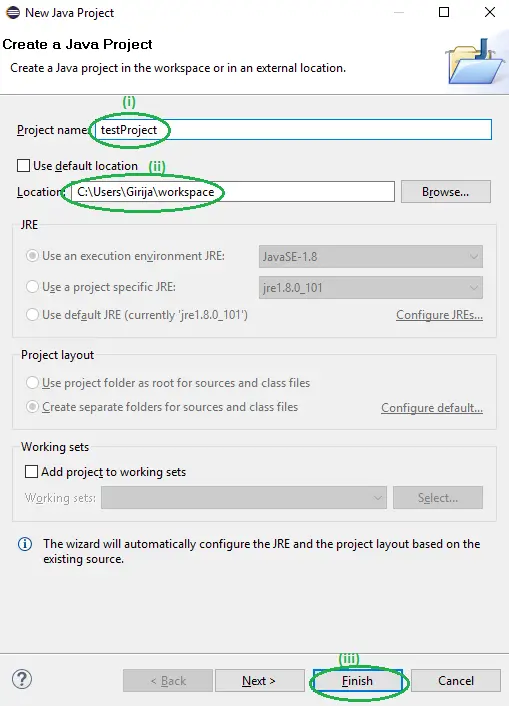
3. Create a new Java Project: File->New->Java Project

A pop-up box will open. Enter project details there:
(i) Enter “Project Name”
(ii)Use default location
(iii)Click “Finish” button
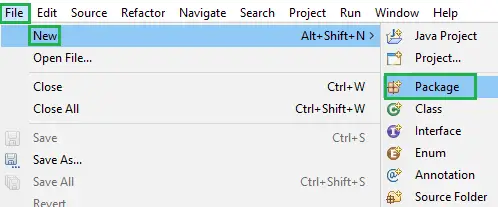
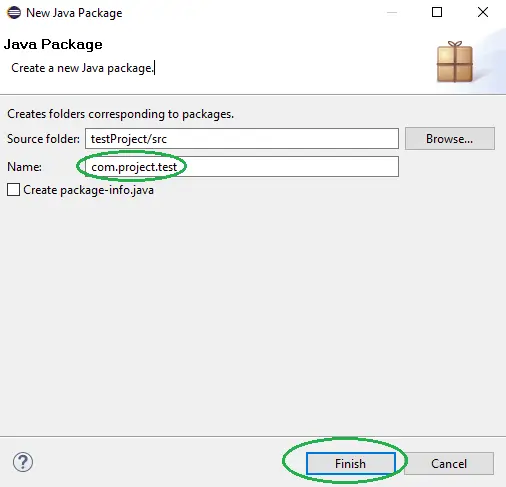
4. Create a new Package. File->New->Package
A pop-up will open. Enter Package Name and click “Finish” button.
5. Create a new Java Class under that Package.
Right click on Package->New->Class
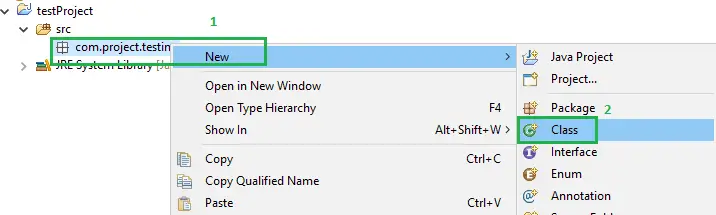
6. Enter Class Name.
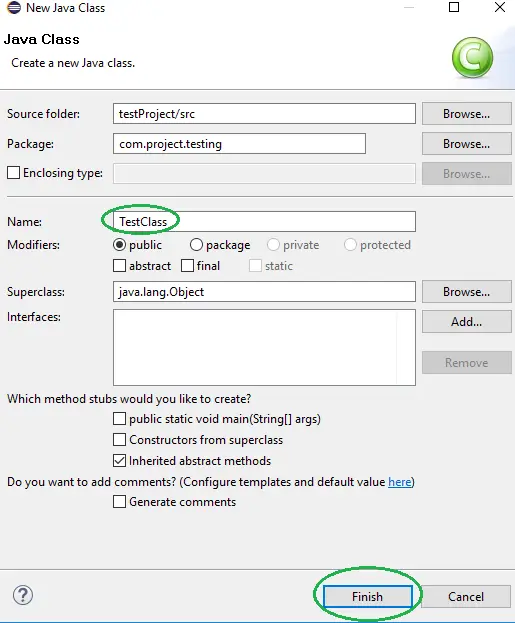
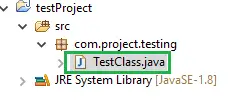
7.This is new Java Class.
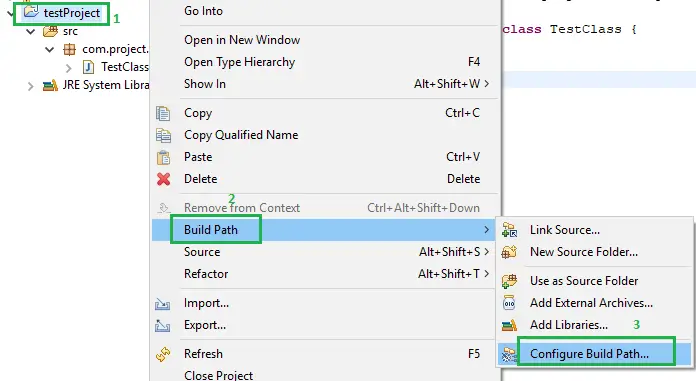
8. Now add Selenium JARS to Java Build Path.
(i) Right-click on the Project Name.
(ii)Build Path
(iii)Configure Build Path
(iv) Click “Add External JARs”
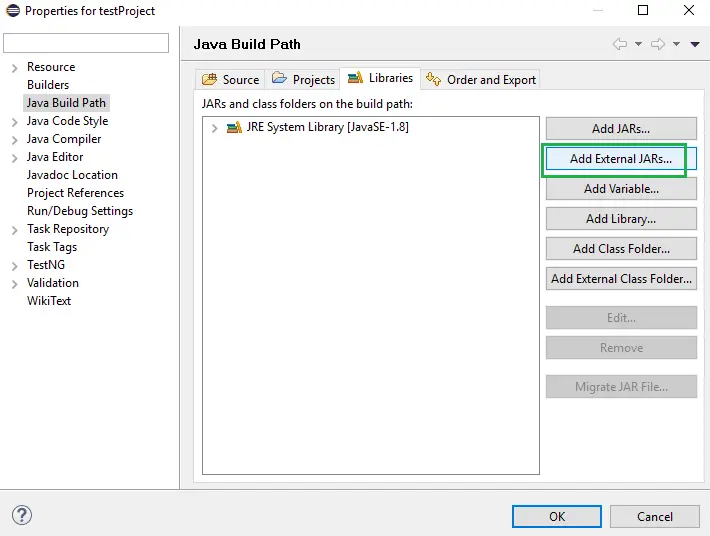
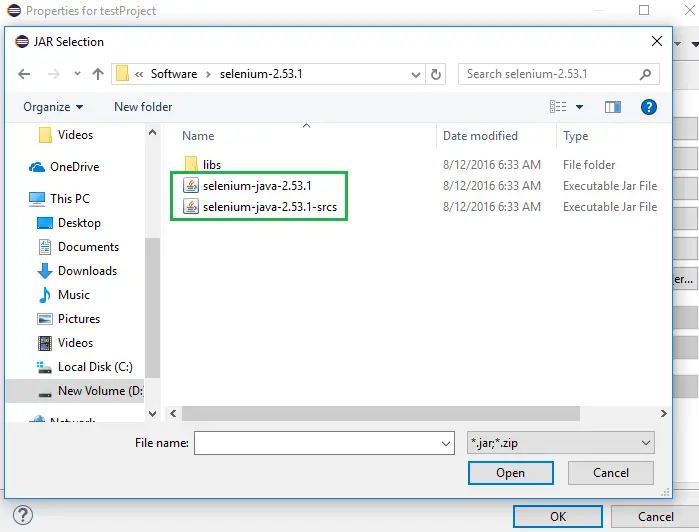
When you click on “Add External JARs..” It will open a pop-up window. Select the JAR files you want to add.
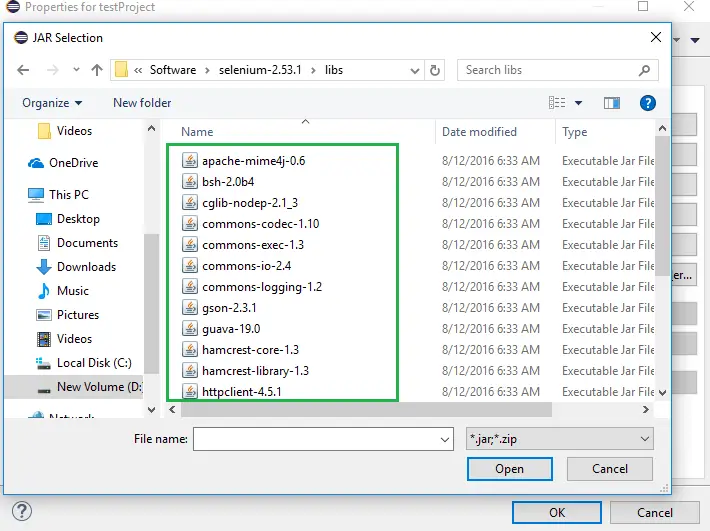
Also add JARs which are present in “libs” folder
9. Finally, click OK and we are done importing Selenium libraries into our project.
3. Installing TestNG in Eclipse IDE for Selenium
TestNG is a Unit Testing Framework, which plays a major role in developing Test Automation frameworks for Selenium using Java Programming language.
If we are using Java programming language in Selenium Automation tests, then we have to choose either JUnit or TestNG as our Unit Testing Framework. But in Selenium Project, TestNG is preferred over JUnit, as TestNG Unit Testing Framework is more powerful and is very much suitable for Selenium Projects.
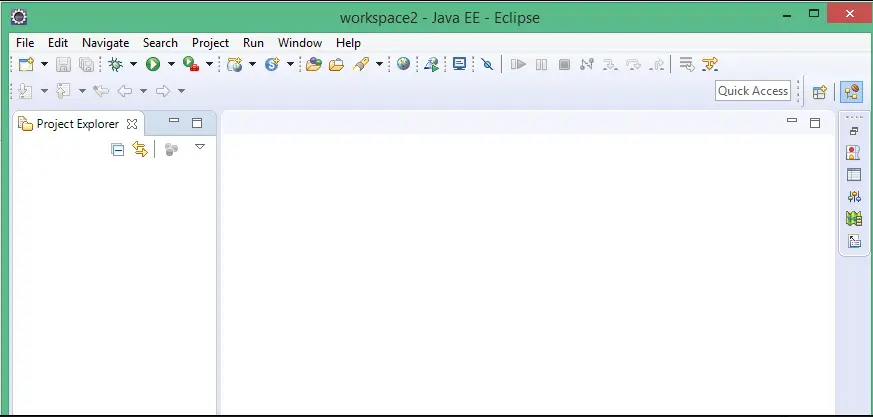
1. Launch Eclipse IDE as shown below:
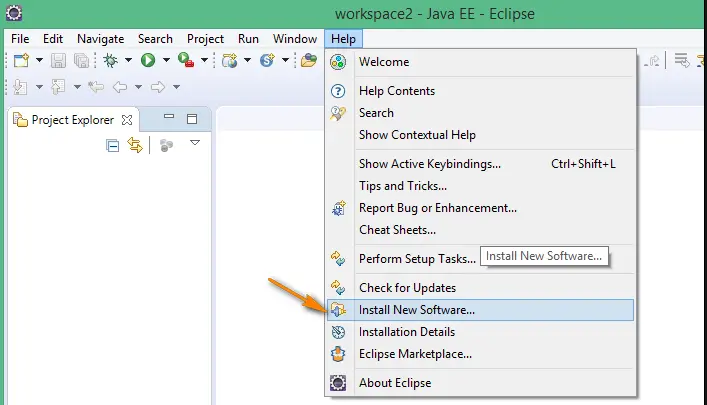
2. Click on ‘Help’ menu and select ‘Install New Software’ option as shown below
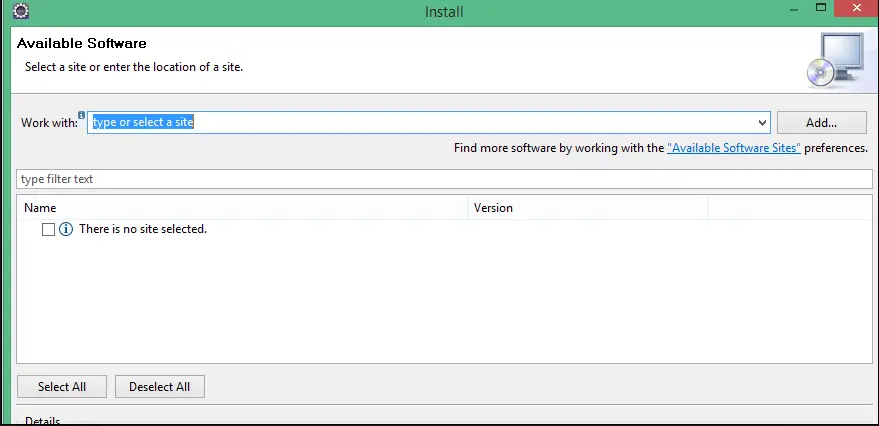
3. ‘Install’ dialog will be displayed as shown below:
4. In the ‘Work with’ field, type http://beust.com/eclipse as shown below:
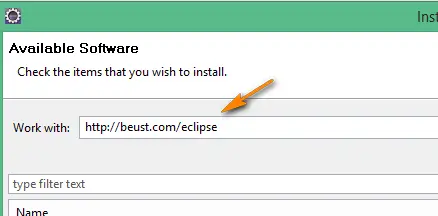
Note: You can also type ‘TestNG’ in the above text box field and Eclipse IDE will automatically suggest the http://beust.com/eclipse URL. i.e. You don’t have remembered it, simply type ‘TestNG’ instead of URL will do the Job.
5. Observe that after a while, ‘TestNG’ option will be displayed as shown below:
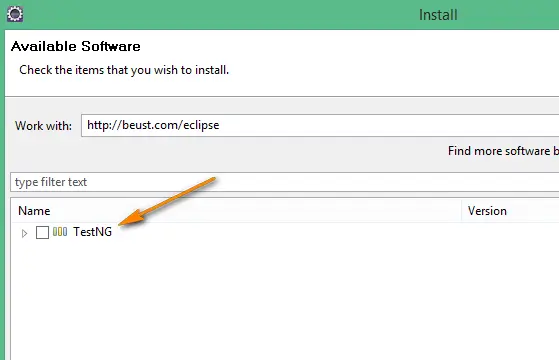
6. Select ‘TestNG’ option and click on ‘Next’ button as shown below:

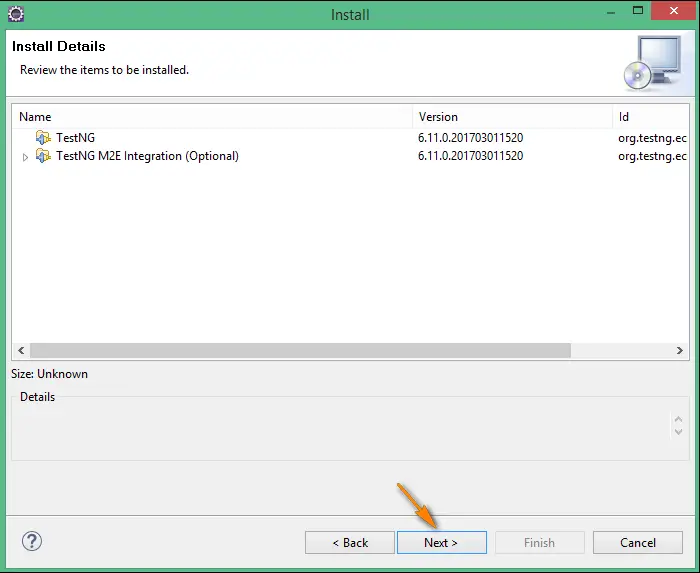
7. After a while, the ‘Installation Details’ for TestNG will be displayed and click on ‘Next’ button as shown below:
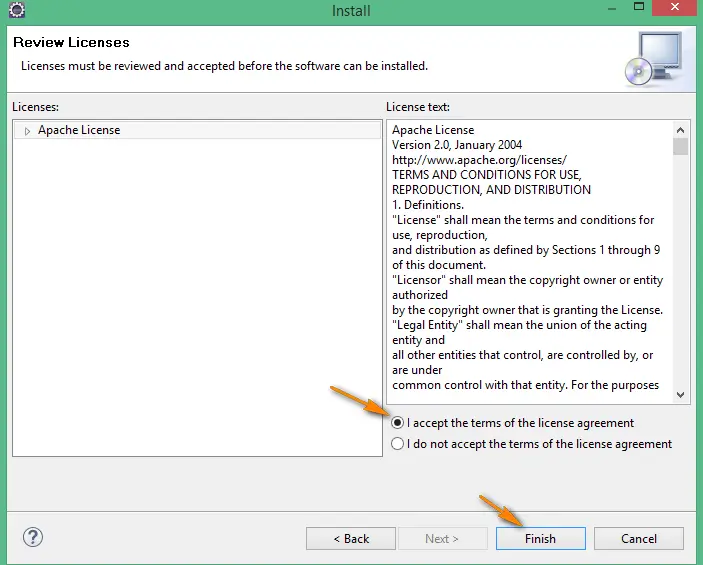
8. ‘Review Licenses’ dialog will be displayed, select ‘I accept …’ radio option and click on ‘Next’ button as shown below:
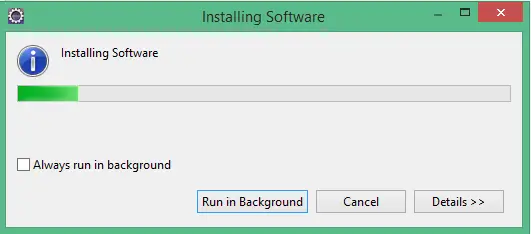
9. The TestNG installation will begin as shown below:
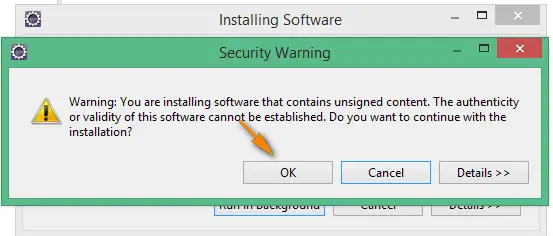
10. After a while, a ‘Security Warning’ dialog with ‘OK’ and ‘Cancel’ buttons will be displayed. Click on the ‘OK’ button as shown below:
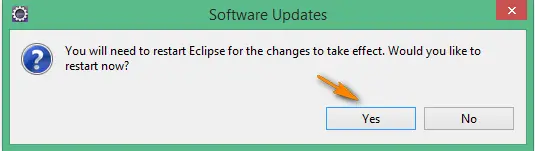
11. After a while, a ‘Software Updates’ dialog will be displayed, asking to restart the Eclipse IDE will be displayed. Click on ‘Yes’ button on the dialog as shown below:
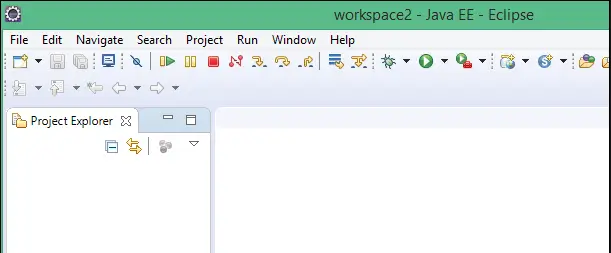
12. Eclipse IDE will get restarted and be displayed as shown below:
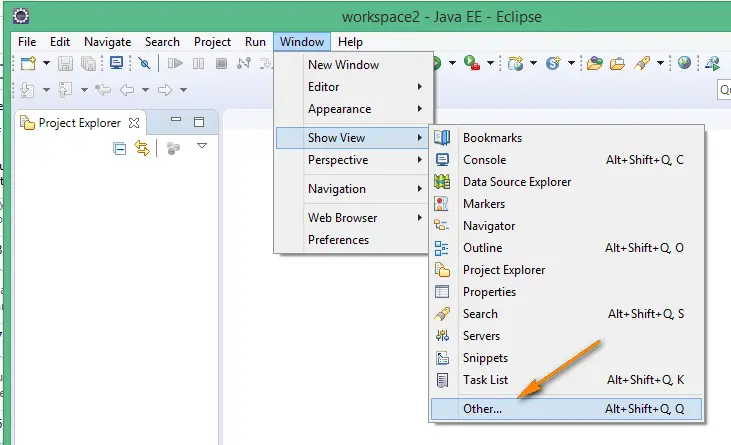
13. Now, let’s confirm whether the TestNG got installed in Eclipse IDE or not. Click ‘Window’ menu and select ‘Show View’ > ‘Other’ option as shown below:
14. ‘Show View’ dialog will be displayed. Expand ‘Java’ folder and observe that ‘TestNG’ option will be available as shown below:
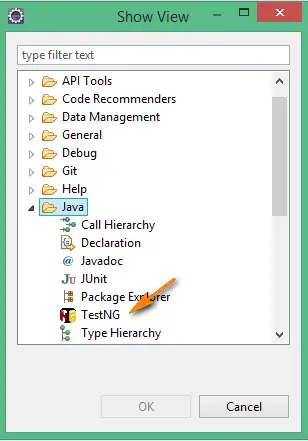
Hence it is confirmed that ‘TestNG’ required by Selenium, got successfully installed in Eclipse IDE.
4. Configuring Selenium with TestNG Framework
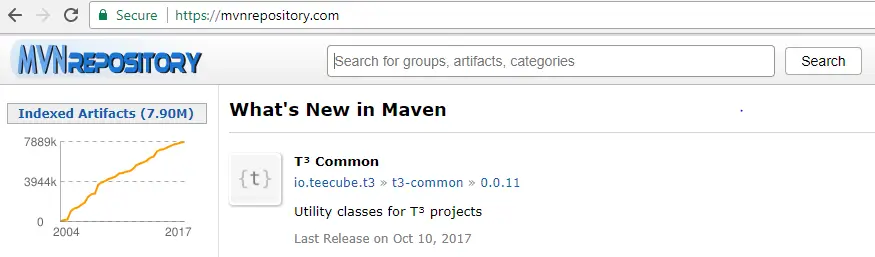
1. Open mvnrepository.com in any browser as shown below:
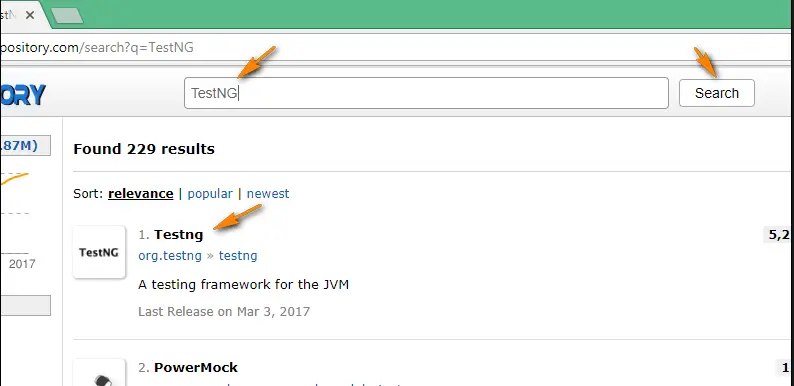
2.Type text “TestNG” into the search box field and click on ‘Search’ button. On searching, observe that “TestNG” will be displayed in the search results as shown below:
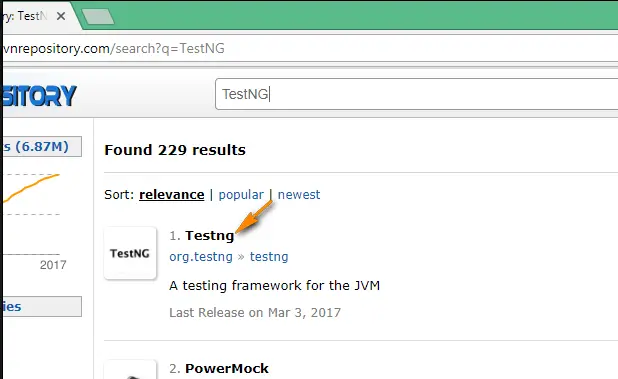
3. Click on the ‘TestNG’ from the search results as shown below:
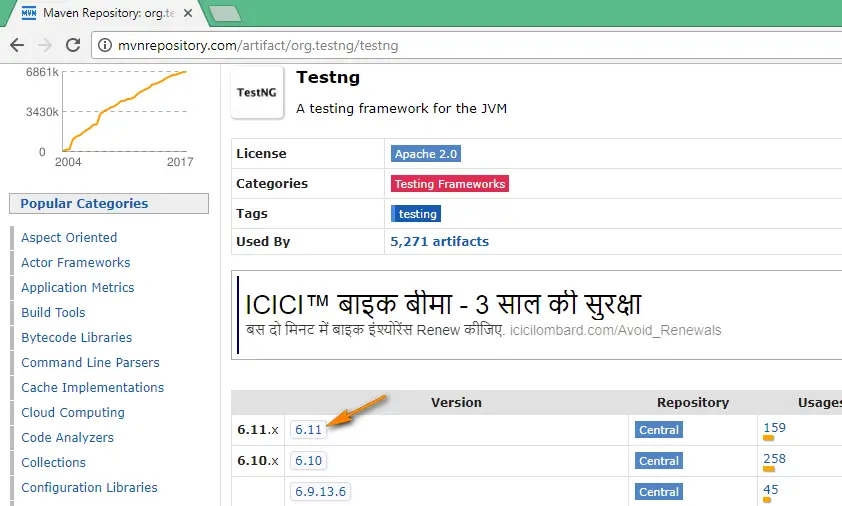
4. In the resultant page of TestNG, click on the latest version of TestNG as shown below:
5. In the resultant page of the latest version of TestNG, click on the ‘Download’ link as shown below:
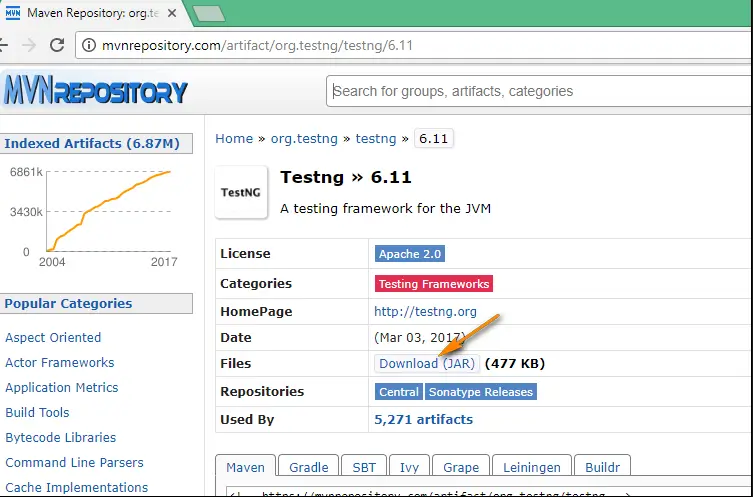
6. Observe that the latest version of TestNG Jar file will be downloaded as shown below:

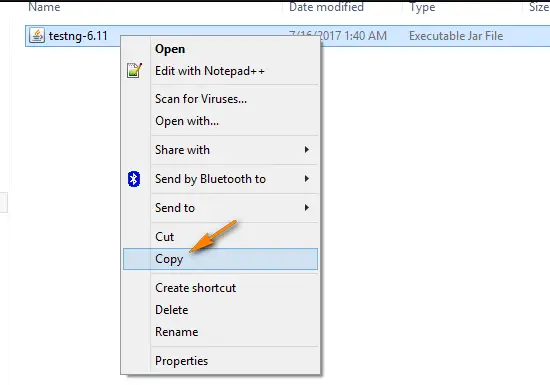
7. Copy the downloaded TestNG jar file as shown below:
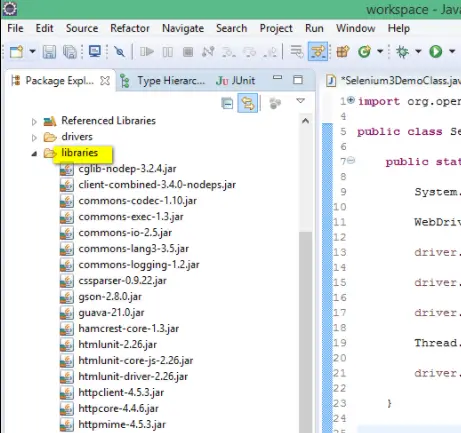
8. Paste into the ‘libraries’ folder of the Selenium Java Project as shown below:
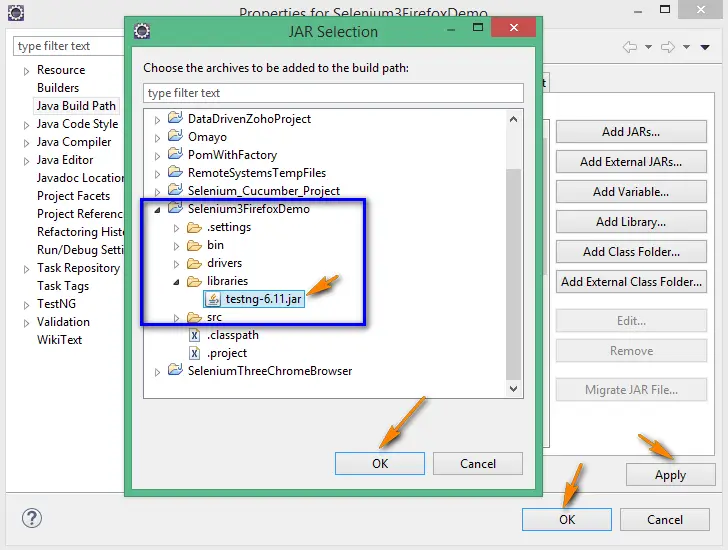
9. Right-click on the Selenium Java Project and select ‘Build Path’ > ‘Configure Build Path’ option as shown below:

10. In the resultant ‘Properties’ dialog, click on ‘Add Jars’ button as shown below:
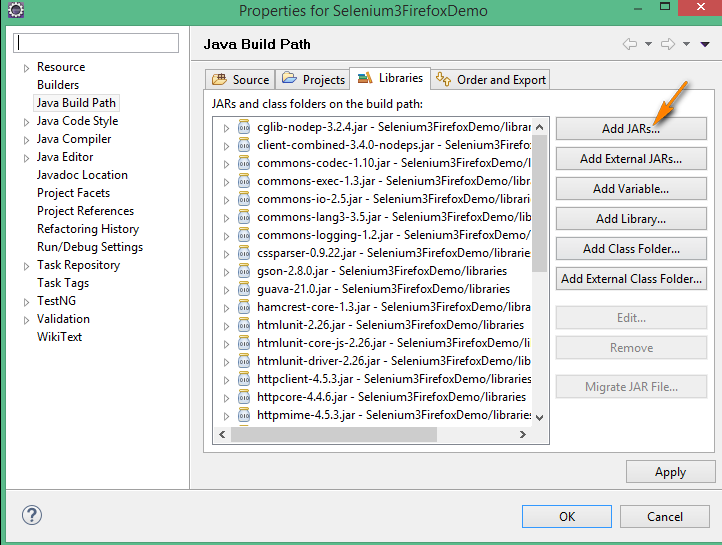
11. In the resultant ‘Jar Selection’ dialog, click on ‘testing’ jar file followed by ‘OK’ and ‘Apply’ buttons as shown below:
5. Pros and Cons of selenium Automation Tool
Pros
- Selenium is an open source tool i.e. Unlike the proprietary tools its available free of cost.
- This is the best tool available in the market for web application testing.
- One of the selenium’s key features is the support for executing one’s tests on multiple browser platforms like Internet Explorer, Firefox, Google Chrome, Opera, Safari etc.
- Selenium allows you to control a browser from a language of your choice. You can choose any one of these Six languages to write automation scripts -> Java, C#, Ruby, Python, Perl and Php (In this Blog, we will be using Java).
- Selenium is available for Operating Systems such as Windows, Linux, and Mac.
- Selenium can be used for functional, compatibility, regression testings and User Acceptance Testing (Mainly used for Regression Testing).
- Functional Testing refers to the test that verifies a specific action of the software (Example – Logging into the Gmail is an action)
- Compatibility Testing is performed to verify whether a software works with all other supported software and hardware.
- Regression Testing is the repetition of the earlier successful tests in order to make sure that changes to the software have not introduced any new side effects
- User Acceptance Testing is testing an application prior to customer delivery for functionality and usability using real-world scenarios which resemble how the application will be used by the end users.
Cons
- Selenium is a browser-based testing tool. It cant be used for automating the desktop applications. (i.e. It can be used only for automating the web-based applications)
- Selenium IDE 2.9 is not working with latest Firefox Version i.e. from Firefox 55.0 onwards. But work is ongoing to a new version of Selenium IDE 3.0